Introduction
DSLRs are still regarded by most as the top choice for anyone serious about photography, but their design and operation is quite unlike other cameras, and this adds to the idea that they’re a super-complicated breed apart from all the rest. But there’s no need to feel overwhelmed by all the different buttons and controls around the body because the differences are largely superficial. Read on to find out how to use all the key controls and get shooting straight away.
1. Optical viewfinder
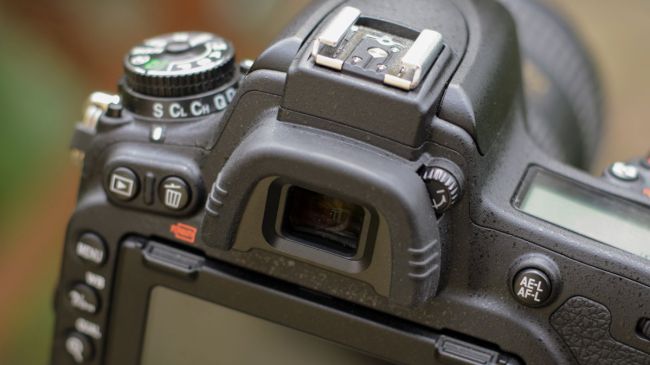
The viewfinder towards the top of the camera lets you compose images. Unlike those on mirrorless cameras and many compacts, the viewfinder is not electronic but optical, which means what you see is a real-world rendition projected on to a ‘focusing screen’ in the camera body. This is great as it means you get a clear and faithful view of the scene as your eyes would see it. (Electronic viewfinders and LCDs show the image as it’s captured by the sensor.)
You should see small dots or boxes in light up as you take pictures; these are your focusing points and they help you to place the focus on specific subjects in the frame. You should also notice shooting information running along the base of the viewfinder such as your shutter speed and aperture. You don’t get the full range of information shown by a digital display, but you can look this up on the rear screen instead.
2. LCD display/live view
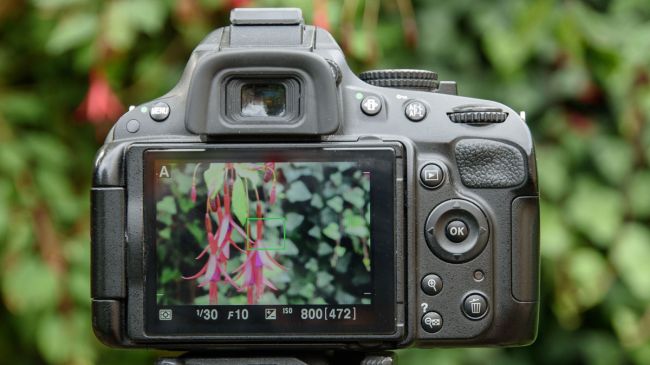
The LCD on the back of your DSLR displays shooting information and various menus with all your camera’s many options, as well as images you’ve captured them and videos as you’re recording them.
It can also be used to compose images though a feature known as ‘live view’; this is useful when you’re working on a tripod and you can take your time, particularly as most cameras let you zoom into the scene to check focus and details as you compose the image.
It is, however, less practical for day-to-day shooting as the physical construction of a DSLR doesn’t allow for as speedy a focusing system as compact cameras and compact system cameras.
With compact cameras and mirrorless cameras where you compose the photo on the rear screen or with an electronic viewfinder, you’re effectively in ‘live view’ mode all the time.
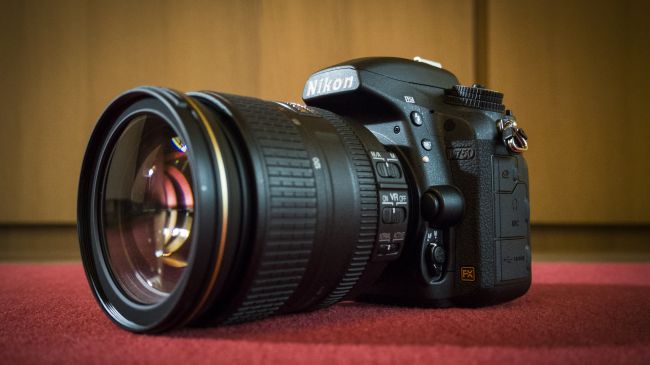
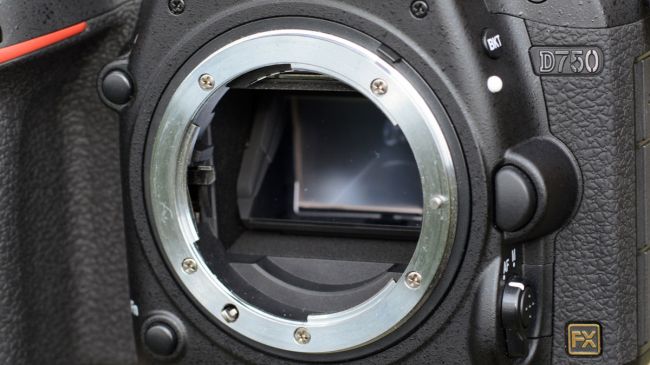
3. Lens and lens release
One of the main advantages of a DSLR is the ability to swap lenses so that you can take a range of different photos, from close-up macro shots to wide-angle landscapes.
Every DSLR has a release button to the side of the lens mount, which works on a bayonet-type system. Simply press this button down and turn the lens until it can be removed from the body. To replace it with another lens, place the lens in the mount, lining up the marker on the body with the marker on the lens before turning the lens until you feel a click – this is when you know it’s securely mounted. Overlooking this is mistake you only make once!
With the lens removed you can see the mirror inside the body that reflects the image up into the viewfinder. On compact system cameras there is no mirror (it’s why they’re called ‘mirrorless’ cameras) and you can see straight through to the sensor.
4. Zoom and focus rings
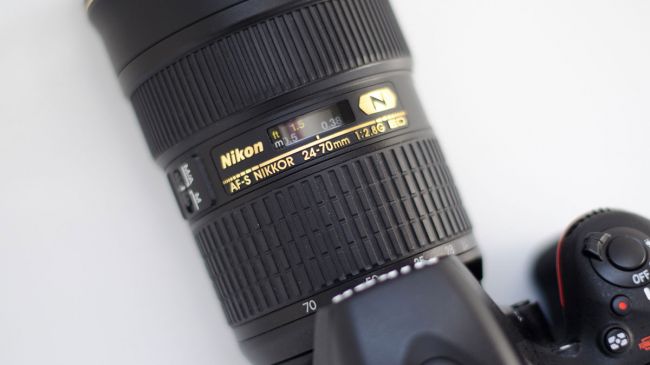
If you’re used to using a compact camera, it’s likely you’ve had it somewhat easy with zooming in and out using a spring-loaded button or lever on the camera. On a DSLR you have to turn a zoom ring around the lens barrel instead. This does give you an advantage in that it’s a lot easier to zoom to a precise point than it is on a compact, and your left hand will likely be positioned here anyway to support the camera. Once you get used to it it’s second nature.
There may also be an additional ring on your lens which is used to manually focus on your subject, or to fine-tune focus once your camera has autofocused on a subject. This is useful when your DSLR’s autofocus system may struggle, such as when shooting in particularly bright or dark conditions, or when the subject is surrounded by similarly lit subjects.
5. Top LCD
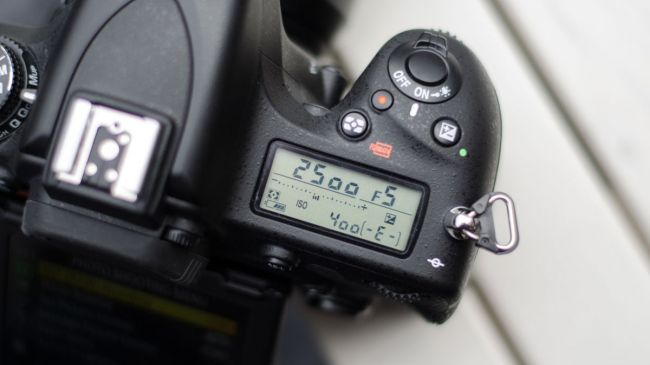
While all DSLRs offer an LCD on their rear, some of the more advanced ones also sport a small secondary LCD screen on their top plate. This allows you to keep an eye on key shooting settings without you needing to look at the rear LCD or the through the viewfinder, and there’s usually an option to switch on a small lamp to illuminate the display in low light.
Options here typically include shutter speed, aperture, exposure compensation, as well as the number of images you can take at the camera’s current settings and the remaining battery life. You may also be able to view additional settings such as sensitivity (ISO) and metering mode.
6. Pop-up flash
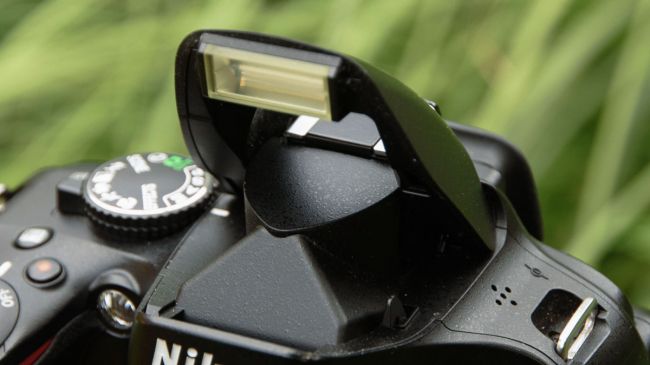
Although you’re able to attach a separate flashgun to the hotshoe on top of your DSLR, there’s a good chance you have a small one built into it already.
This can be handy when shooting a subject against a bright background, or when your subject has some shadows that could do with being filled in with a little light.
There should be a small button to its side which allows you to raise the flash out of its housing, but if your camera is set to the Auto mode or one of the scene modes, the flash will fire whenever the camera deems it necessary. Often, you can press this button and turn the control dial to change the flash mode.
7. Mode dial
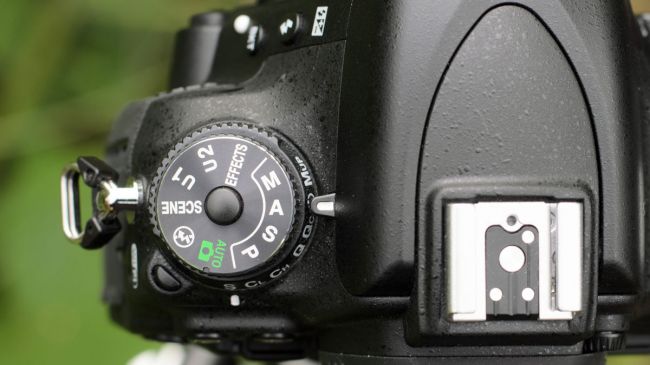
The mode dial on the top of your camera lets you decide how much control to take over your camera settings. You can leave this on Auto for simple point-and-click photography – just like a simple compact camera – or use one of the Scene modes, which tailor the camera settings for different subjects such as action, shots, landscapes and soon. The real control, though, is provided by the PASM settings…
Set the camera to the Program (P) mode to take a little extra control over things like flash and exposure compensation – the latter lets you easily make the image a little darker or brighter as you need to. The camera still works out the shutter speed and aperture settings automatically.
Use the Aperture-Priority option (Av) when you want to experiment with blurred backgrounds and when shooting in low light (lower f/ numbers) and when you want everything in focus (higher f/ numbers). Use the Shutter Priority option (Tv) when you want to take very short exposures (high shutter speeds) to freeze action or long exposures (long shutter speeds) to blur movement or at night when using a tripod. The Manual mode (M) lets you adjust both the shutter speed and the lens aperture yourself.
8. Shutter release
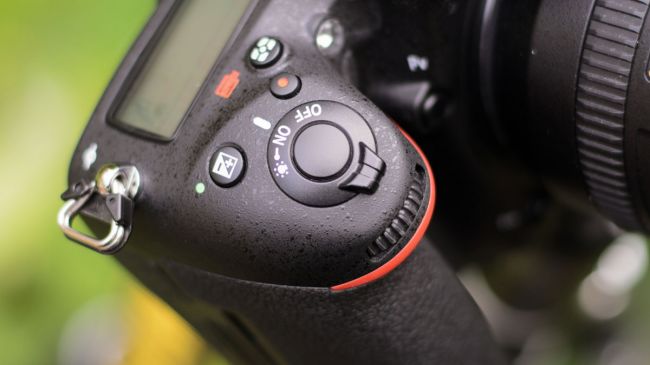
This works the same way as it does on any other camera – pressing it half way down will focus on the subject and pressing it the whole way down will take the photo.
If you’re using a continuous shooting mode, pressing this half way down will focus on the subject in the same as it would when using the single-shot shooting option, but it will also tell the camera to follow that subject as it moves around the scene.
Tip: if you’re using the menu system or viewing pictures in playback mode, pressing this button down halfway will switch you straight back to shooting mode, ready to take the next picture.
9. Battery/memory slots
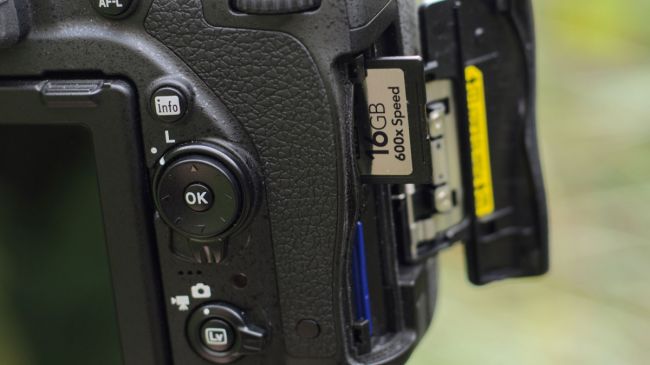
Your camera may have its battery and memory card accessed via a single door or via separate doors. If you’re lucky, you may even have two slots for memory cards – you can use the second card for extra storage or as a backup for the first. Most DSLRs accept the same types of SD cards commonly used compacts and compact system cameras, though a few older or more advanced pro models may use bigger Compact Flash cards.

You might expect DSLRs and their mirror mechanisms to use more power than a compact or mirrorless camera – in fact, the opposite is true. Typically, a DSLR will shot twice as many shots on a single charge as other camera types.
More advanced DSLRs can also take add-on ‘battery grips’ that fix to the base of the camera and extend the shooting time even further.
10. Control dial(s)
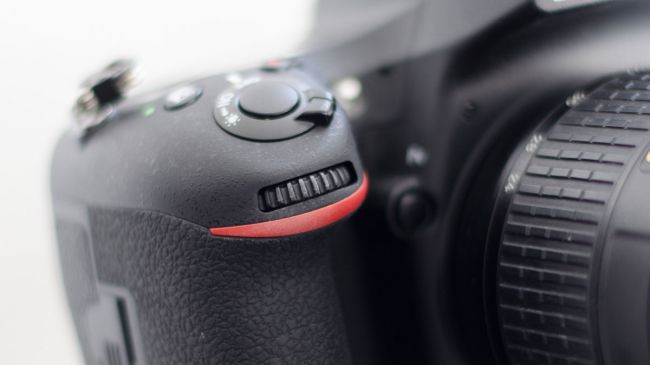
DSLRs have a control dial on the top of the grip, the back of the camera or both, and these are used to change camera settings quickly. Exactly which settings they change depend on what mode you’re in and how you have your camera set up – for example, in P (program) mode the dial may be used to change the balance of shutter speed and aperture (‘program shift’), while in aperture-priority mode it will be used to adjust the lens aperture. Similarly, if you’re set to the shutter-priority option, the dial will change the shutter speed.
_1-200-100.jpg)
DSLRs aimed at enthusiasts and pros have two dials so that you change two settings at once for even speedier operation. In the Manual exposure mode, for example, you can use one to change aperture and the other to change shutter speed. Check to see what happens when you turn these dials as your mode dial is set to different options.
So although they use a different viewing system and a very different body shape, the key features of DSLRs are just like those on any other camera.


