Windows users, it’s time to breathe a collective sigh of relief. After what seemed like an eternity trapped in the clutches of Windows 8,Microsoft’s latest and greatest operating system is finally here to save us.
Tech bloggers the world over have sung Windows 10 praise. Is it really that great, or is it just that anything is better than the nightmare that was Windows 8? Who cares? Install it right now and you’ll never have to deal with Windows 8 again.
In a recent post, we told you how to skip the queue and install Windows 10 right now. Your job isn’t done once you’ve got it installed, however, because there are a few things you need to make sure you take care of right away.
Kill Wi-Fi sharing
By default, Windows 10 is set up to share your Internet connection over Wi-Fi. This is a nifty feature if you want it, and a dangerous one if you don’t. To be on the safe side, you should probably just disable it right from the get-go.
Open the Settings app from the taskbar or Start Menu, then open Change Wi-Fi settings and click Manage Wi-Fi settings. Now, uncheck all the boxes under “For networks I select, share them with.”
You may also want to slide the toggles to off underneath “Connect to suggested open hotspots” and “Connect to networks shared by my contacts.”
Customize the Start Menu
Ahhhhhhhhhhh! The Start Menu is back!
It’s OK, you can get excited. We won’t judge. Once you get past the simple fact that the Start Menu is there, however, it’s time to begin making the most of it.
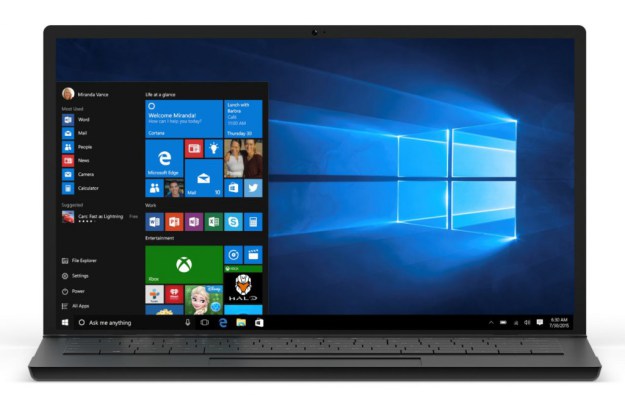
First things first: the Start Menu looks quite a bit different from the one you’re used to in Windows 7 and earlier versions of Microsoft’s desktop OS. Here’s a quick look:
As you can see, Microsoft used a somewhat traditional layout on the left side of the menu, and then a tile-based section reminiscent of Windows 8’s Start screen can be found on the right.
Don’t be afraid… it’s not going to take over your computer like it did in Windows 8 — unless you want it to.
Clicking on the top-right corner of the Start Menu and dragging your mouse or finger will resize the box. You can also customize the look and feel of the Start Menu by opening Settings and then clicking on Personalization.
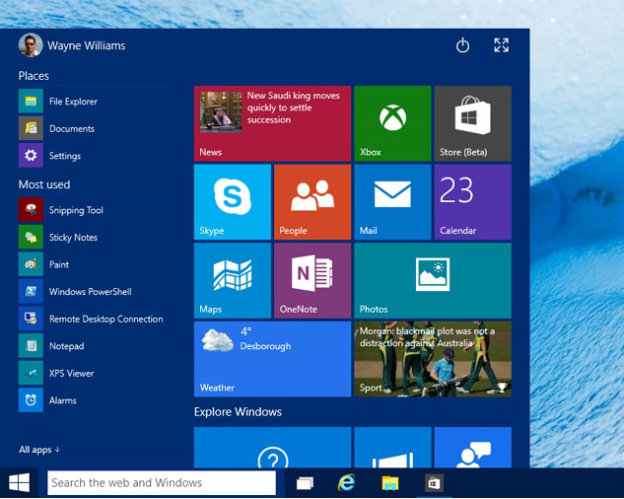
Right-clicking on any tile will open up a small menu with options to unpin it from your Start Menu, resize it, disable live tile features (animated updates that display on the tile) or pin the tile’s associated app to the task bar below. Left-clicking and holding on any tile will let you drag it around to rearrange the order of your tiles, or to regroup them.
Right-clicking any app or file anywhere on your computer will give you an option to pin it to the Start Menu.
Finally, clicking Settings, Personalization and then Start will allow you to enable or disable a few key features. “Show most used apps” will automatically pin apps you commonly open near the top of the left side of the menu, while “Show recently added apps” will add a section beneath that to show apps you’ve recently installed.
You can also toggle “Use Start full screen” to on
Manage restarts
I switched from Windows to OS X as my primary desktop operating system eight or nine years ago, though I still used both for a while. Now, the only regular interaction I have with Windows (aside from testing it for BGR) is when friends and family call me for help because something is broken.
This happens all the time. As great as Windows 10 is compared to Windows 8, I don’t expect these calls to end anytime soon. And of course, four out of every five frantic calls I get are resolved with the same fix: A restart.
People… when something goes wrong with your computer, restarting is the first thing you should try. In fact, you should be restarting your computer regularly if you don’t shut it down each night. That said, automatic restarts after software updates that are unexpected can be very annoying. So here’s an important setting to tweak:
In the Advanced update section within Settings, select Advanced Windows Update options. Then, in the drop-down menu at the top, choose “Notify to schedule restart.”
This way, your computer will still restart regularly whenever updates are installed, but you’ll get a warning first.
Meet the Action Center
Microsoft’s spin on Apple’s Notification Center is called the Action Center. It might not be the most original feature in the world, but it’s quite useful and we listed it among the five best fixes for annoying problems in Windows 8. Live tiles are nifty, but having one location for all of your notifications is a welcome change.
Seriously, get to know the new Action Center.
Don’t let notifications own you
As great as the new Action Center is, however, think of it like an iPhone. If you give every app carte blanche access to notifications, you’ll lose your mind. Instead, you want to analyze things on a per-app basis and choose which apps can pop up notifications and which should stay quiet.
In Windows 10, you can adjust notifications settings by clicking the notifications icon in the system tray. The click All settings, followed by System and then Notifications & actions. Here, you’ll be able to pick and choose which apps can display notifications and which ones cannot. You’ll also be able to tweak a few additional settings pertaining to notifications.


